

16 Palette Knife Techniques
Palette knives, often found abundantly in artists’ studios, serve as versatile tools with a plethora of applications. These tools are not only instrumental in creating abstract art but also play a crucial role in various artistic endeavors. Artists can use palette knives independently to craft captivating abstract compositions, applying thick layers of paint in impasto fashion or experimenting with dragging techniques for expressive strokes. The versatility extends to the mixing of paints on palettes, allowing for nuanced color variations and customized blends. Palette knives also excel in fine details, adding intricacies to paintings or providing a means to sculpt and texture clay creations. From scraping away layers to reveal underlying colors to creating textured backgrounds and even experimenting with sgraffito techniques, the possibilities with palette knives are diverse. Whether employed for blending edges, adding precise lines, or achieving unique monoprint effects, these tools stand as indispensable companions for artists seeking to push the boundaries of their creative expression.
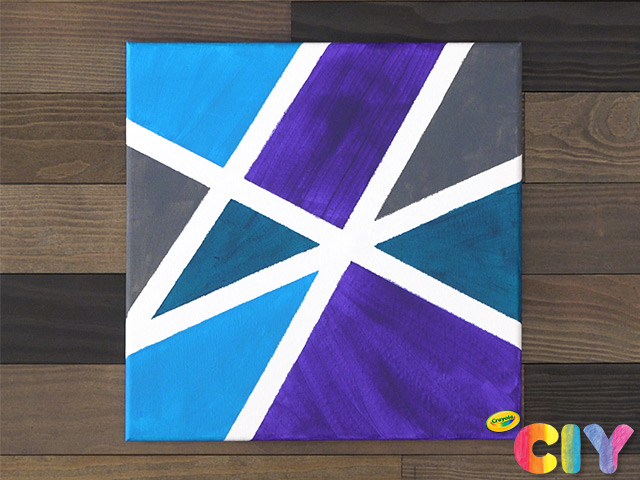
1. Applying colour
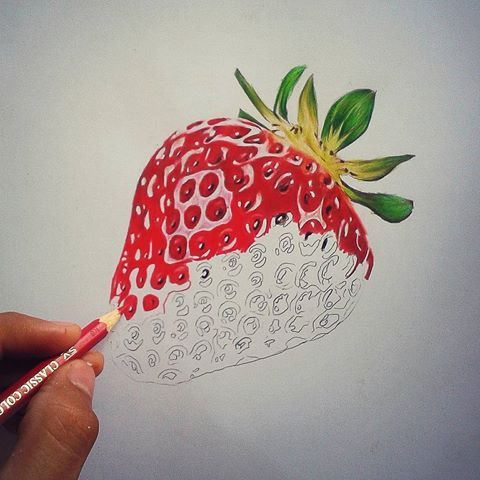
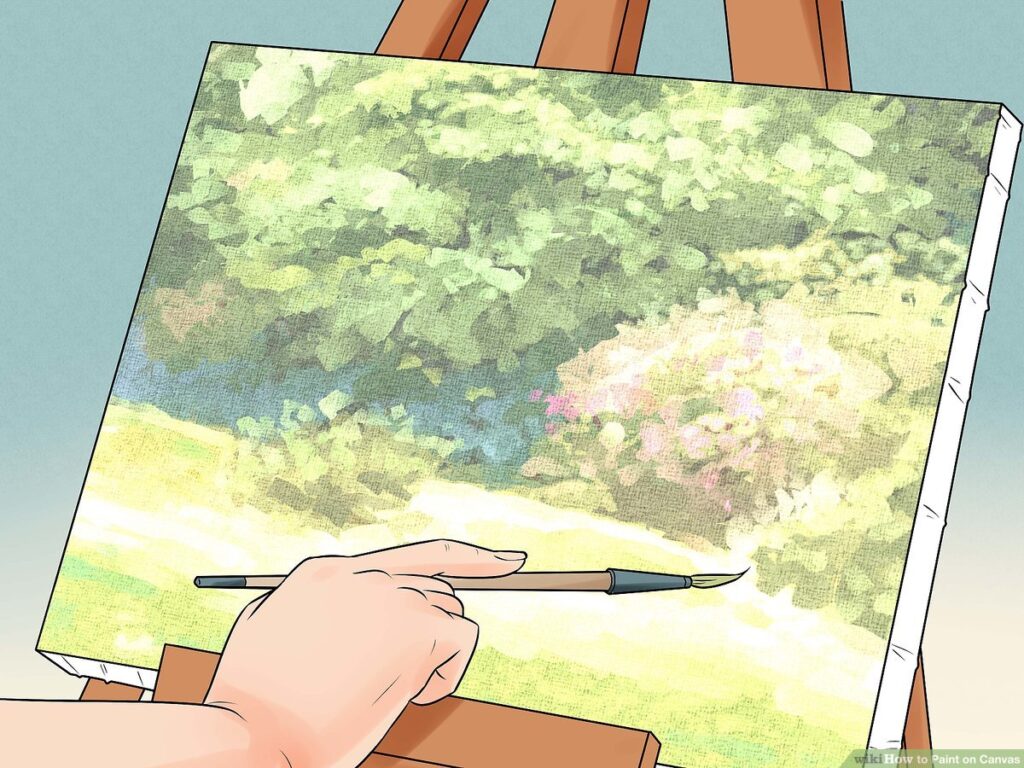
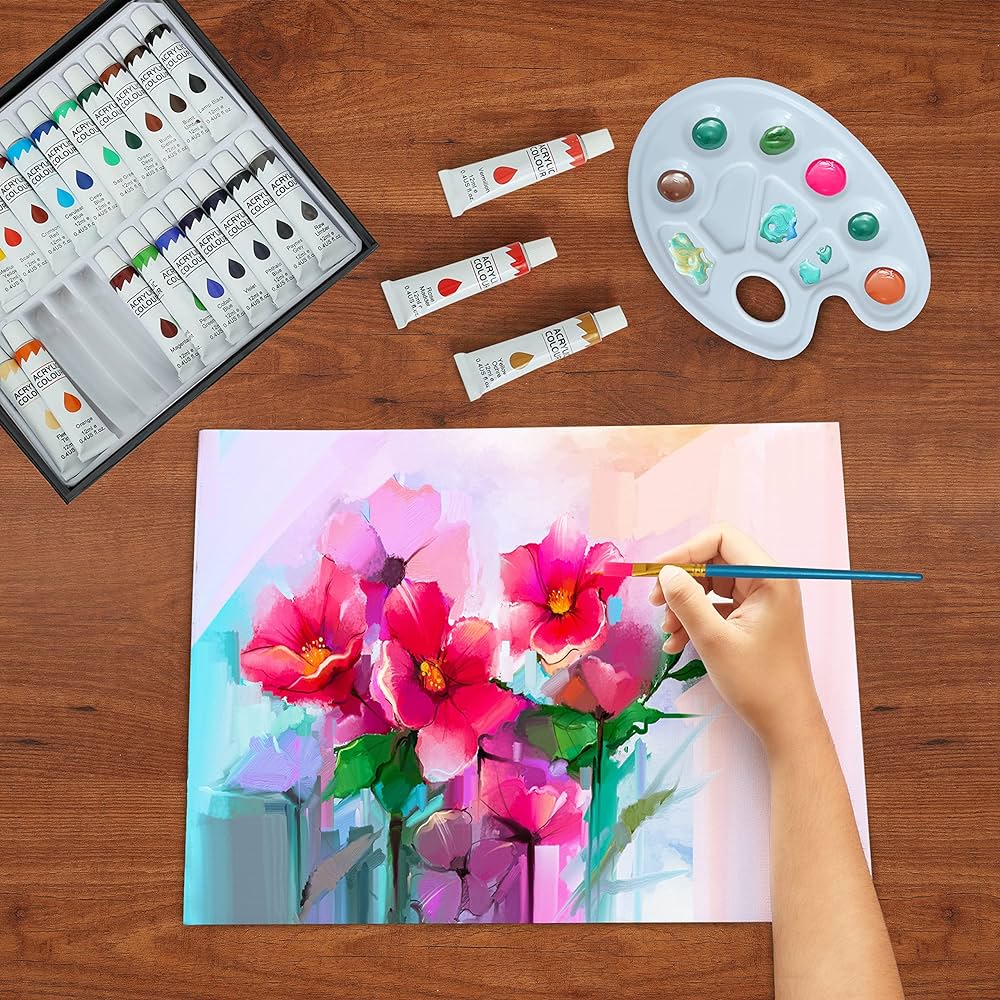
Learning to paint with a palette knife is an exciting venture that opens up a world of artistic possibilities. To begin, dispense your chosen paint onto the palette, and with your palette knife, scoop the vibrant hues onto its blade. As you embark on the canvas, envision the process akin to spreading butter on bread—sweep the paint across the surface in rhythmic motions. The key lies in the gentle back-and-forth, upward and downward movements, avoiding the inadvertent scraping off of the paint. This technique allows for a seamless and controlled application of color, offering a tactile and expressive approach to creating captivating artworks. As you navigate the canvas with your palette knife, you’ll discover the unique textures and effects that can be achieved through this dynamic and liberating painting method.
2. Blending Colour
Palette knives offer a distinctive and effective alternative to traditional paint brushes when it comes to creating seamless color blends. Liberating artists from the constraints of brushes, palette knives excel in merging colors effortlessly. To achieve a harmonious blend, start by applying one color onto the canvas. Then, using the flat side of the palette knife, delicately pick up a small amount of another color. With a rhythmic wave motion, move the knife back and forth across the canvas, allowing the colors to intermingle organically. This technique transforms the canvas into a vibrant tapestry of blended hues. The key is to maintain the fluid motion, oscillating the knife from side to side until the colors harmoniously converge, showcasing the versatility and finesse achievable through the artful use of palette knives.
3. Pressing
Another intriguing technique with palette knives involves blending colors through the art of pressing. Begin by applying one color onto the canvas as your base. Next, scoop up a modest amount of a different color with your palette knife. Utilizing the flat side of the knife, gently press the additional color into the base color, spreading it outwards. This method yields nuanced variations in tone, allowing you to either lighten or darken the initial color. The key distinction here lies in the act of pressing—instead of sweeping the colors around, you are delicately pressing one into the other. This deliberate and tactile approach provides artists with a unique avenue for color manipulation, unveiling the expressive potential inherent in the palette knife technique.
4. Broken application
The broken color application, executed with a palette knife, introduces a captivating element of randomness and texture to the canvas. This technique intentionally imparts a non-smooth and uneven color application, making it particularly well-suited for backgrounds or adding texture to landscapes. To achieve this effect, load your palette knife with paint and apply quick strokes, lightly pressing the knife down on a slight angle. Following this, scrape the knife across the paint to push it, creating distinctive strokes. The interplay of applying paint in one direction and scraping it in the other results in an uneven, broken texture that adds depth and visual interest to the artwork. This dynamic and expressive use of the palette knife showcases the versatility of the tool in creating unique and textured effects on the canvas.
5. Linework
Leveraging the sharp edge of a palette knife introduces a distinct element to your artwork—clean, sharp lines. To execute this technique, use the edge of the palette knife to pick up the paint. Position the knife at a right angle, ensuring that the diamond-shaped edge does not interfere with the process. Press down and glide the knife across the canvas with precision, resulting in sharp and clean lines. This method allows artists to create defined and intentional lines, adding a level of sophistication and structure to the composition. The palette knife’s edge becomes a tool for meticulous control, showcasing the versatility of this instrument beyond its more expressive applications.
6. Sgraffito
Derived from the Italian word for ‘to scratch,’ Sgraffito presents a straightforward yet effective method to infuse texture and intrigue into your paintings. Begin by applying a thick layer of acrylic or oil paints to the canvas. Then, wielding a palette knife, gently scrape away the paint, unveiling the color beneath. Experiment with scoring lines in various directions, adding distinctive marks, or crafting shapes within the painted surface. This scratching technique not only reveals the underlying color but also serves as a fantastic means to introduce texture, particularly suitable for enhancing the tactile qualities of landscapes. It’s essential to exercise caution and avoid excessive pressure to prevent any inadvertent damage to the canvas while employing this expressive and textural approach.
7. Double loading
For those seeking to achieve a graduated color or an ombre effect with a palette knife, the double-loading technique offers a creative solution. Start by squeezing out two small spots of different colors onto a palette. Using the bottom of the palette knife, drag it across both colors, picking up both hues. Then, glide the loaded knife across the canvas, allowing the colors to blend seamlessly. To further refine and blend the transition between the two colors, use a clean palette knife. This double-loading method with a palette knife provides artists with a versatile and expressive means to create smooth transitions and captivating color gradients in their artwork.
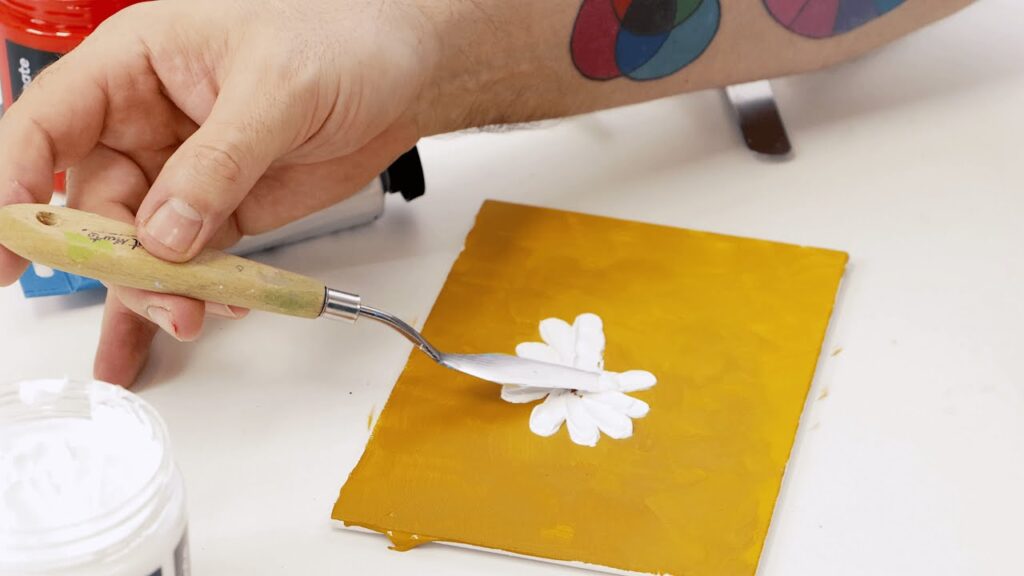
8. Petals
A widely embraced technique involves leveraging the flat surface of the palette knife to fashion a petal shape. Begin by loading the palette knife with paint, then firmly press it onto the canvas to imprint the color. Lift the knife, and you’ll find a distinctive petal shape that can be employed for floral depictions or landscape elements. Experiment with variations by directing the knife’s tip outward for elongated petals reminiscent of sunflowers or inward for rounded petals like daisies. For added artistic flexibility, consider adjusting the transparency of colors through layering, and to introduce a textured dimension, incorporate modeling paste with acrylic paints or explore the rich impasto texture achievable with oil paints. This palette knife technique offers a dynamic approach to infusing floral and landscape elements with expressive and visually engaging petal shapes.
9. Apply paint directly to the canvas
Palette knives extend their utility beyond traditional mixing surfaces, offering a direct method for color application on the canvas. Forgoing the need for a palette, artists can seamlessly integrate this technique into their creative process. Initiate the process by applying small spots of the darkest color directly onto the canvas, ensuring color integrity. Subsequently, utilize the palette knife to spread and blend the paint, incorporating mid-tone colors in a gradual progression. Continue to work both upwards and downwards, introducing highlights and consistently blending to achieve a cohesive gradient. Maintaining a supply of paper towels within reach proves beneficial for periodic cleaning of the palette knife between color transitions. This technique underscores the versatility of palette knives, enabling artists to directly apply and blend colors on the canvas for a seamless and dynamic gradient effect.
10. Scooping paint
In the event of a mistake or when working with substantial amounts of color and layering, knowing how to effectively remove paint becomes a valuable skill. The choice of palette knife size should correspond to the surface area, with larger knives suitable for expansive areas and vice versa. While the paint remains wet, utilize the edge of the palette knife to scoop and remove the undesired paint. Adjust the orientation of the palette knife as needed to address challenging or intricate areas. This technique allows for correction or provides a clean canvas for the application of additional layers or colors, offering artists a practical solution for managing mistakes during the creative process.
11. Directional lines
To infuse a sense of harmony into your palette knife paintings, consider incorporating directional lines into your work. Start by applying a color to the canvas, and then, using the edge of a clean palette knife, introduce directional lines such as waves, swirls, diagonals, or straight lines. This technique adds a dynamic element to your painting, serving as an effective means to depict waves in seascapes or create texture for hair in portrait works. The versatility of this approach extends to pour paintings as well, offering artists a tool to enhance the visual impact of their creations.
12. Mixing paint
Palette knives serve as excellent tools for mixing various elements in painting. Whether you’re blending colors for a pour painting, incorporating a medium into your paints, or adjusting the consistency of your paints, a palette knife proves invaluable. For mixing paints directly on the canvas, place two colors side by side, and with a clean palette knife, spread and blend the colors together. The process involves continuously spreading and pushing the colors to achieve a seamless blend, providing artists with a straightforward and effective method for achieving the desired paint mixtures.
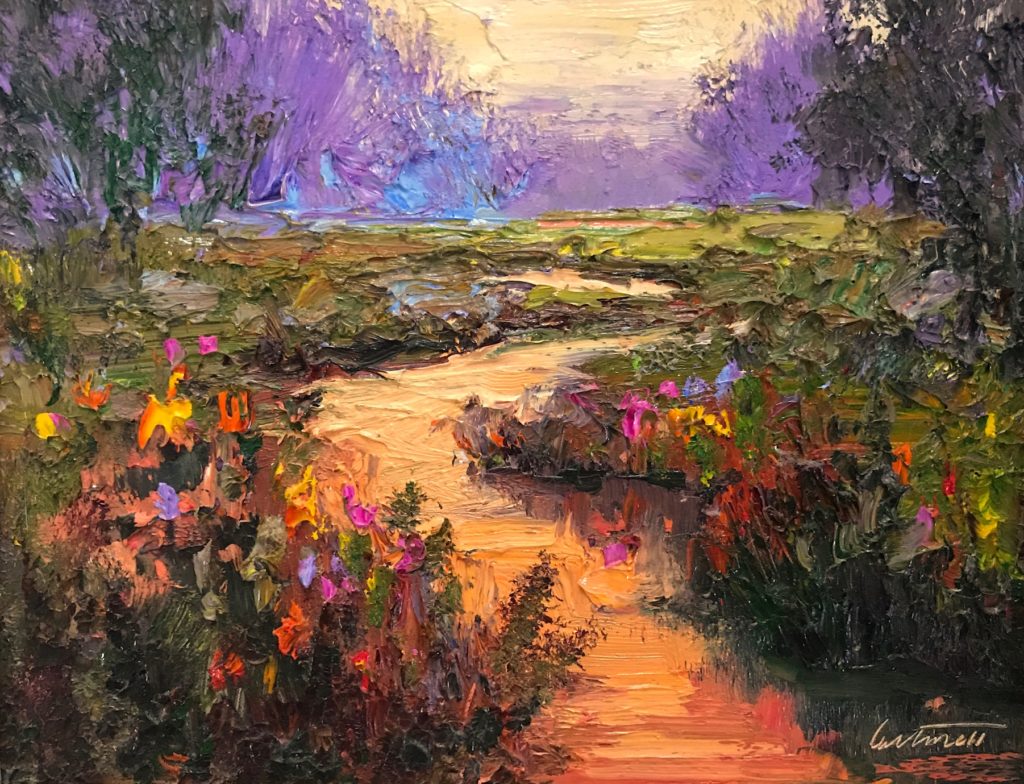
13. Blocking in
Blocking in color is a highly effective technique, especially when working with oil paints. This method imparts a visually appealing, choppy, and abstract aesthetic that complements the rich and buttery consistency of oil paints. The process involves using one color at a time, allowing artists to concentrate on each element’s technique without being concerned about immediate blending. Starting with dark shadows and gradually incorporating lighter colors, artists add the object first and then the background. While working, they swipe the paint gently, spreading it around. Keeping the palette knife clean is crucial during this process to prevent color muddying and maintain a crisp, defined appearance.
14. Cutting clay
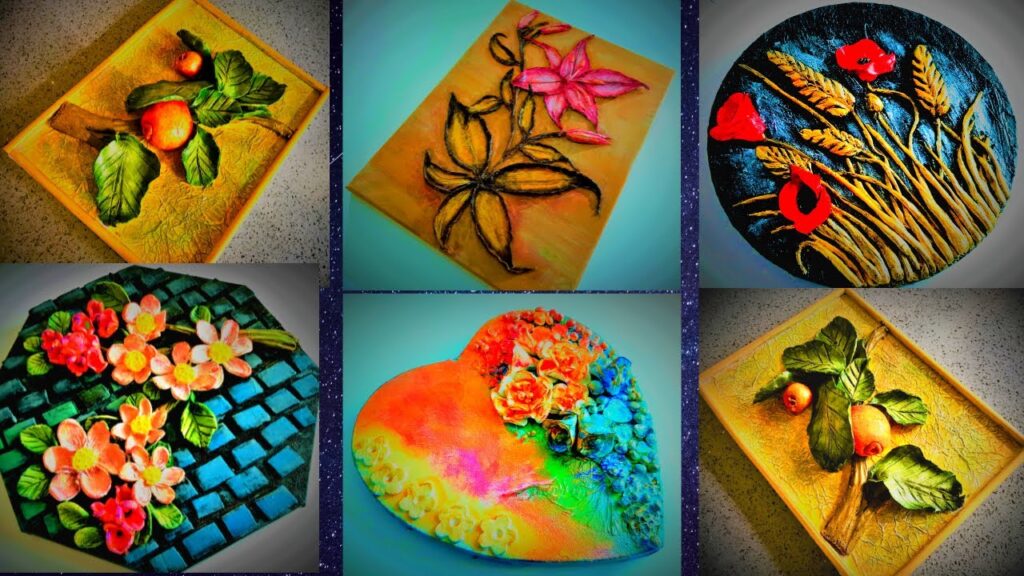
In addition to its applications in painting, a palette knife proves to be a versatile tool for cutting polymer and air-dry clay, particularly in the creation of intricate pieces such as those found in jewelry making. By employing the knife’s edge, artists can make precise cuts in the clay, offering a useful technique for shaping and detailing. This method is particularly beneficial when removing excess clay during slab building with air-dry clay, allowing for greater control and precision in the crafting process.
15. Scoring
Achieving a seamless connection between two pieces of air-dry clay can be accomplished through a scoring technique. Employing a palette knife for this purpose, artists can make gentle, intersecting slices in the clay, creating a crosshatch pattern. Subsequently, the scored areas can be joined together by hand, and the palette knife can be utilized to wipe over the clay, eliminating any visible join marks and providing a smooth finish. This method ensures a well-integrated and aesthetically pleasing bond between the clay pieces.
16. Faux terrazzo
To achieve a terrazzo effect with polymer clay, artists can utilize a palette knife, cling film, and a rolling pin. The process involves selecting a mix of earth-toned polymer clays, including colors such as Umber, Black, Burnt Umber, Metallic Mauve, and Crimson, and slicing off square edges of these colored clays using a palette knife. Subsequently, the clay pieces are covered with cling film, and a rolling pin is used to flatten the clay while keeping the pieces together. This technique results in a terrazzo-inspired pattern, offering a visually appealing and versatile option for creating polymer clay projects.
Conclusion
The palette knife proves to be a versatile tool in the hands of artists, offering a myriad of techniques for both painting and working with various types of clay. From creating textured and blended effects in paintings to sculpting, cutting, and joining clay, the palette knife showcases its adaptability and utility across artistic mediums. Whether it’s exploring dry brushing, sgraffito, or achieving a terrazzo effect, artists can experiment with these techniques to add depth, texture, and unique visual elements to their creations. As a tool that encourages both precision and spontaneity, the palette knife stands as an indispensable instrument for artists seeking to express their creativity across a broad spectrum of artistic endeavors.